


In the spring and summer, productive mason bee nests are a buffet of food resources for pests and parasites! Fortunately, our understanding of the lifecycle of mason bees helps us protect the developing bees from parasitic wasps, ants, birds, and other predators.
Female mason bees only forage and nest for about 4-6 weeks and produce just one generation per year. So, once the females have completed nesting, we can remove and store the developing bees in a safe space, away from hungry predators.
Need a little help remembering when to do what? Sign up for BeeMail and we'll send timely information, reminders, and tips to your email to help guide you along your solitary bee-raising journey!
Remove
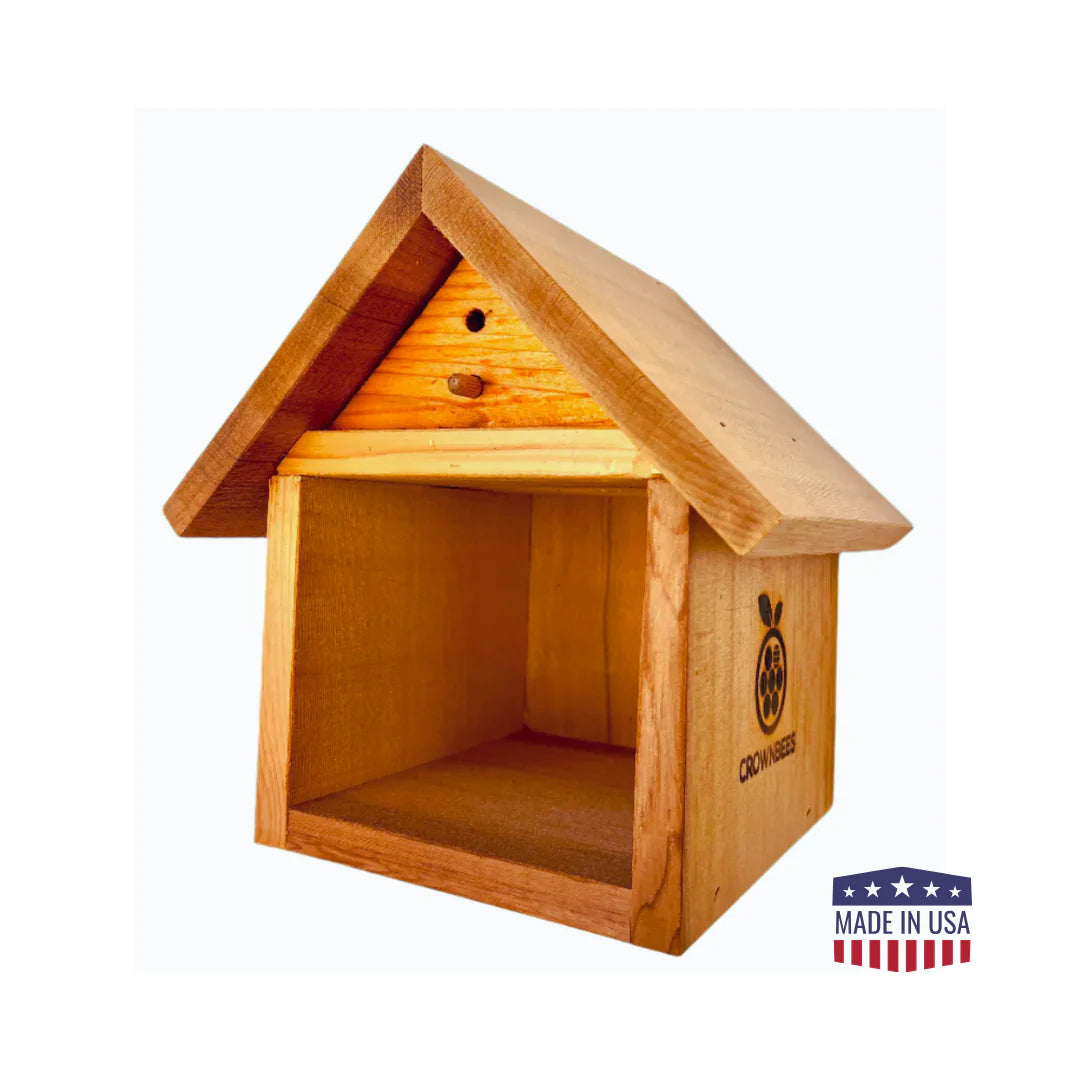
Mason bees have usually completed nesting by late spring or early summer, temperatures depending. Once you no longer see females moving in and out of your bee house, it's time to remove the filled nesting materials from the bee house.
If you have reusable Wood Trays: Wait until you no longer see females moving in and out of your bee house to remove them.
If you have Natural Reeds or BeeTubes: It is possible to remove individual-filled nesting materials as soon as you see a mud-capped end. Many people use paper inserts for this very reason; they are replaced easily without shuffling the other materials! But be cautious because mason bees use visual cues to locate their nests. If you shift nesting materials around, the nesting females may become disorientated and abandon the nests. For this reason, we don't recommend removing individual-filled nesting materials unless there is evidence of predators.
If you decide to remove filled tubes, make sure you replace them with empty ones to keep all the other tubes in the same place, so active females can still locate their specific nests. We also recommend you swap in the evenings to help females reorient the minor changes when they begin flying again in the morning.

Pro Tip: Wild, native bees and beneficial solitary wasps are still flying and may use your bee house if you provide nesting materials. We suggest adding various diameter nesting materials to allow a safe place for these other pollinators to take up residence.
Protect
Place all filled nesting materials in a BeeGuard Bag or another breathable, transparent bag, with the mud-capped ends face up. The bag will protect the developing bees from hungry predators. Placing the mud-capped ends face up will help ensure the egg and developing bee stay on top of the pollen loaf (bee food) provided by the mother bee.
Pro Tip: If rodents are an issue, place nesting materials into a thick plastic or metal chew-proof container. Don't forget to add a few air holes to the container!
Store
Store the filled nesting materials in an unheated and un-conditioned garage or shed until harvest time in the fall. The summer heat is vital for the bees to develop from an egg into adults, so make sure you store the bag in a dry area with natural outdoor temperatures. If you don’t have an unconditioned indoor area, they can remain outside but must be protected from the rain, snow, and predators. Regularly check the BeeGuard Bag for the first few weeks and look for any parasites that may have emerged. Kill any pests and parasites to keep them from attacking your developing bees.
Excessive Heat Warning: With extreme summer temperatures becoming more common in North America, many sheds and garages can quickly turn into ovens! Check to make sure your cocoon storage area stays consistent with outdoor temperatures. If it is too hot, move nesting materials to a cooler location, such as indoors, until the extreme heat passes. Please do not place the bees in the refrigerator. It is still too soon!
In the fall, you'll want to harvest cocoons. Harvesting mason bee cocoons is a quick and easy way to ensure a healthier mason bee population! Check out our simple guide with video tutorials to help you learn how to harvest cocoons.