


How to Set Up Your Bee House: Where to Hang It and Why Placement Matters
Proper placement of your bee house is one of the most important steps for healthy, thriving bees. A well-positioned house keeps nesting materials dry, warm, and protected so your Mason and Summer Leaf bees stay active and productive all season.
This setup guide supports the Crown Bees BeeSafe™ Standard for the BeeSafe™ Nesting System and BeeSafe™ Seasonal Care.
Fall Care Tip: In the fall, take down your bee house, remove nesting materials, clean out debris, and check for pests or mold. After cleaning, apply a light coat of rosewood preservative to protect the cedar. Store in a dry place through winter and hang again in early spring.
Crown Bees BeeSafe™ Nesting Design Standard
Our best-practice framework for safer cavity-nesting bee habitat focused on bee health, not just garden décor.
- Sealed at one end to block pests
- Breathable materials that dry quickly
- Easy to open for cocoon harvesting and cleaning
- Bee-sized tunnel diameter and length
- Replaceable or cleanable nesting each season
Watch: Bee House Setup
Best Practices Checklist
- Mount securely on a wall, fence, or post. Houses should not sway.
- Face east to southeast for morning sun. Provide afternoon shade in hot climates.
- Height: about 4–7 ft off the ground.
- Wind & rain protection is important.
- Mason bees: clay-like mud source within ~20–50 ft.
- Summer Leaf bees: soft leafy plants nearby.
- Flowers within ~300 ft and avoid pesticides.
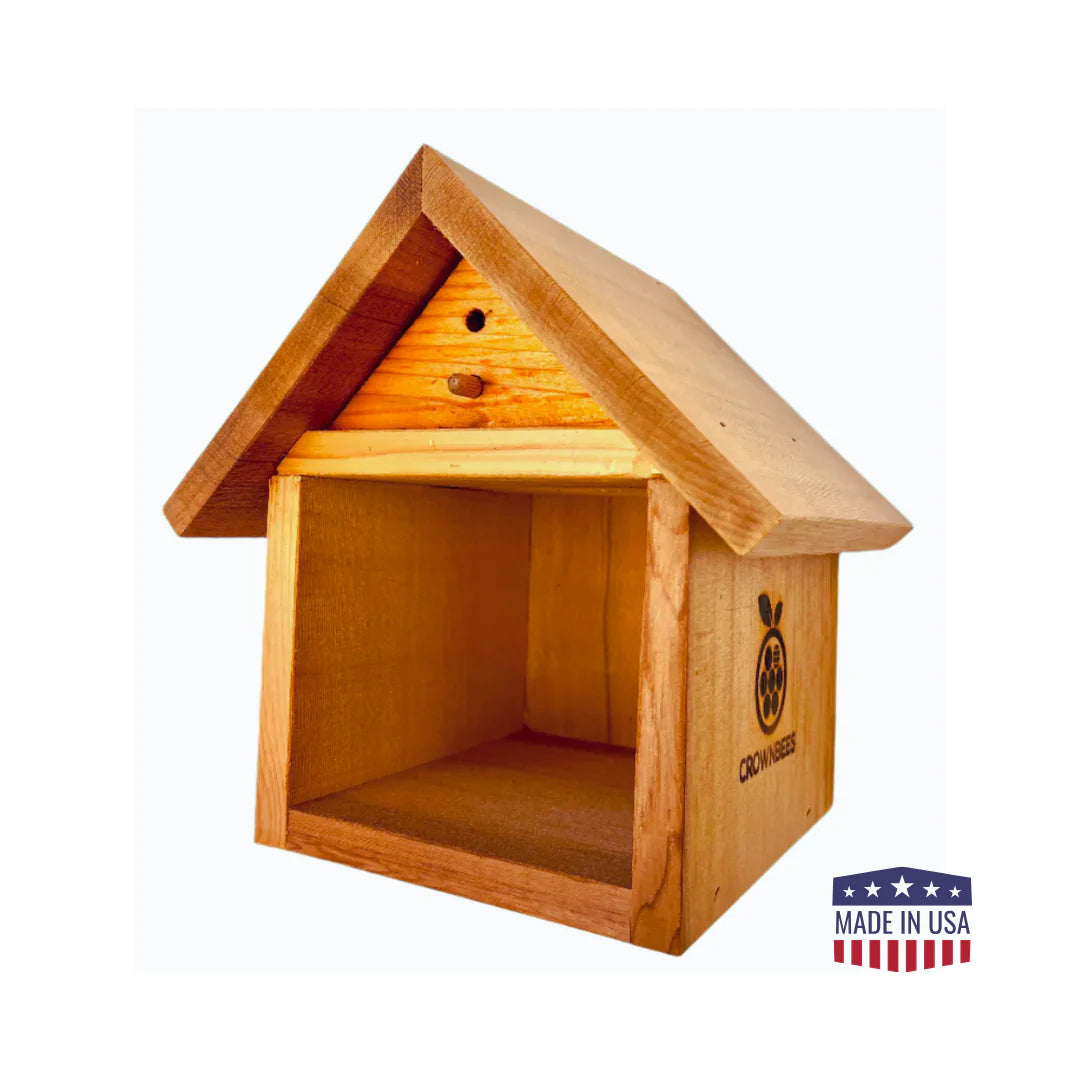
Bee House Design Features (Examples)


Good vs. Bad Bee Houses
Avoid:
- Bamboo bundles or plastic blocks that can’t be opened
- Unsealed tubes open at both ends
- Single-walled paper tubes
- Unstable or decorative-only insect hotels
Upgrade Old Houses in Your Community
If you see an unhealthy bee house nearby, consider offering a healthier alternative and sharing this neighbor-friendly pamphlet.