


Spring is Here!
As the seasons change, so do the needs of your mason bees. Before they wake up and get to work pollinating, take a few moments to check in on your bee house. A well-maintained nesting area sets your bees up for success, leading to healthier pollinators and a more productive garden.
Use this simple checklist to make sure your bee house is clean, safe, and ready for another great season!

Remember, your little buzzing friends are on the lookout for a southeast-facing spot to warm up early in the day. If tree or bush branches have grown to obscure their bee house, it might be time for a little garden pruning. Trim back some of those plants to ensure your bees get the morning sunshine they need!
Cleaning Your bee house is so easy!
- Remove Mud & Debris
- Light Sanding with 150-grit sandpaper
- Dusting Off the wood dust to prepare for oil application.
- Apply Brazilian Rosewood Oil to rejuvenate the wood. You can also paint the house if that suits your style better! Let the house dry outside before placing it back for your bees to use.
By taking these steps, you'll ensure a warm and welcoming home for your mason bees, making their season (and yours) a delightful success!
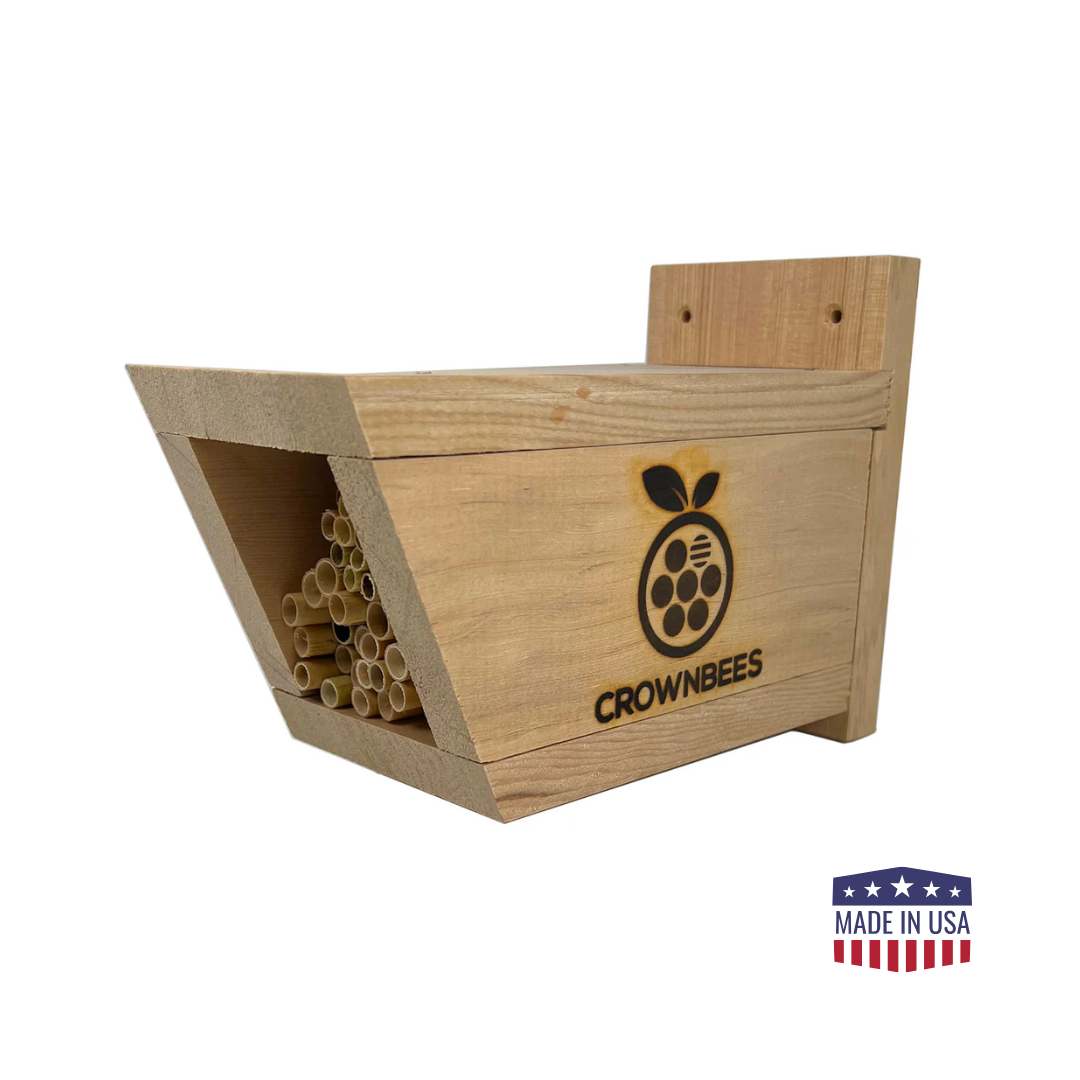
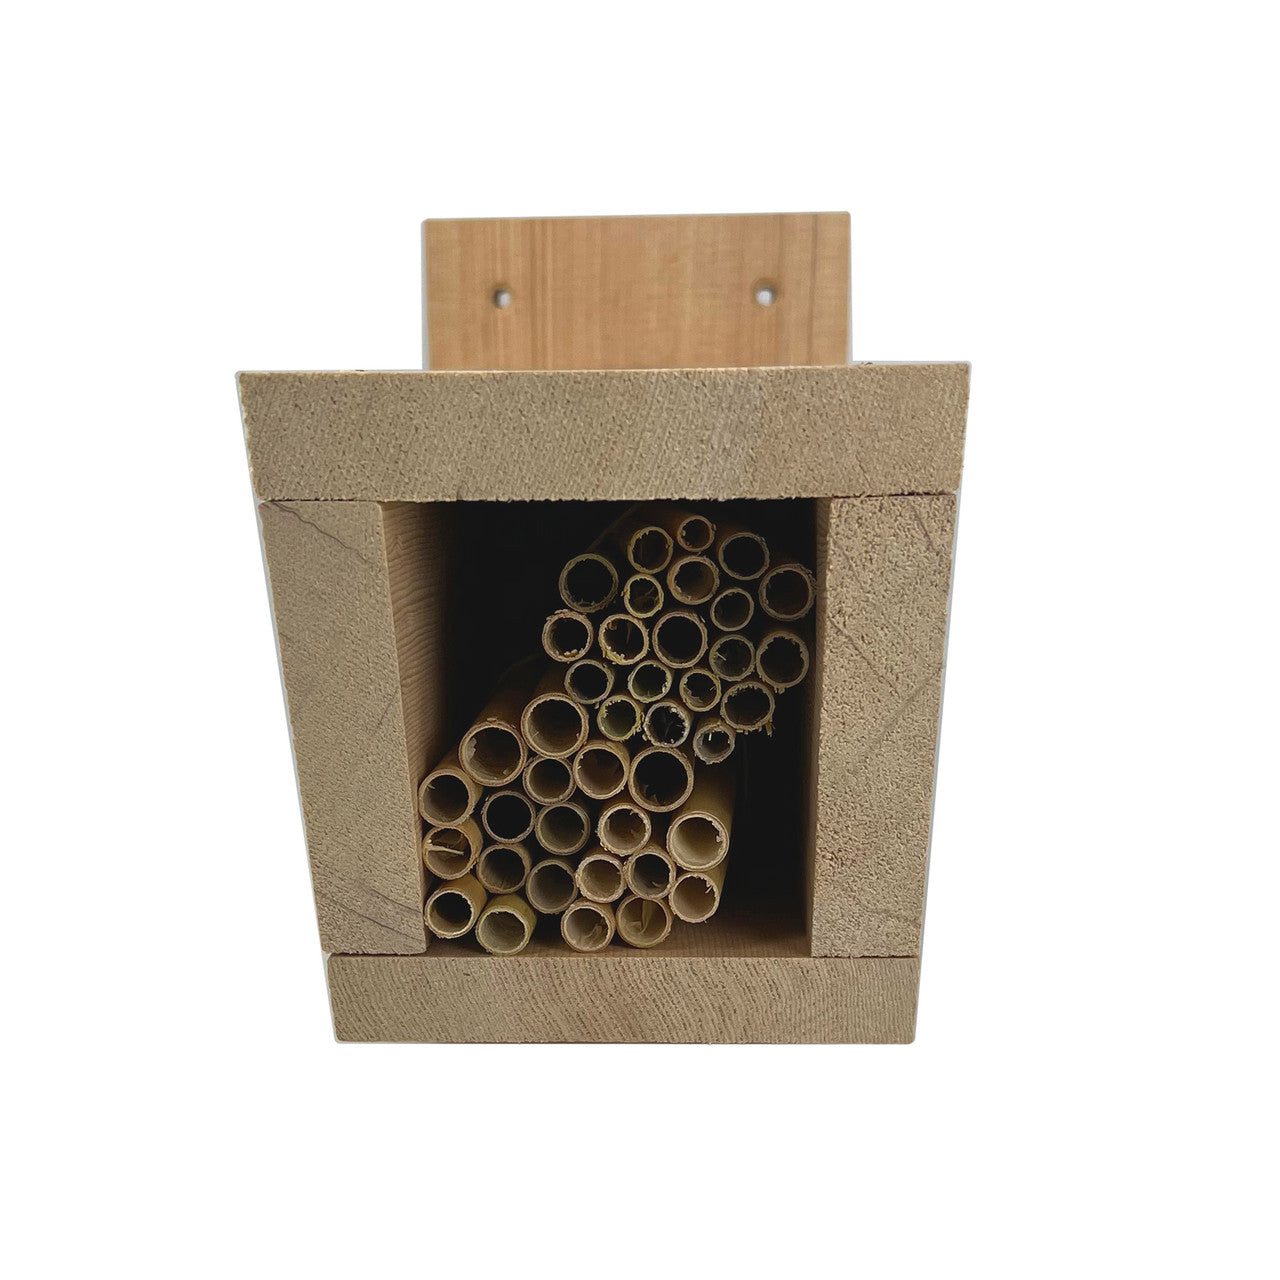
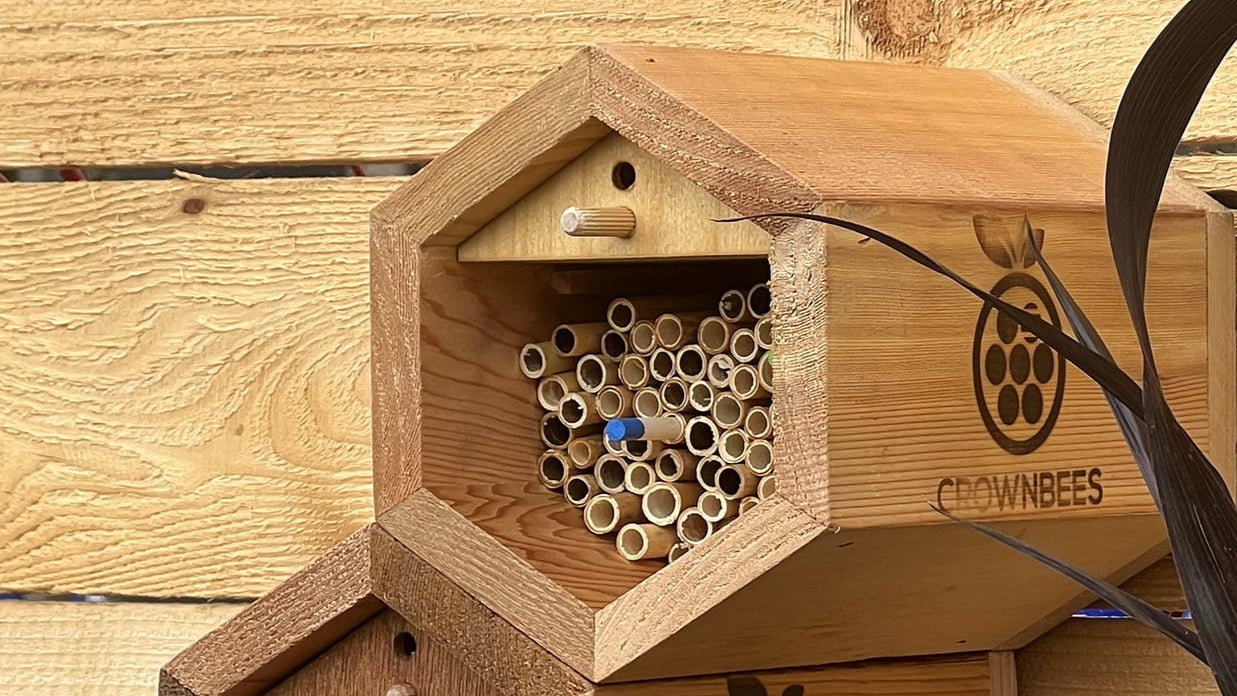
For the best results, aim to have about one available nesting hole for each cocoon you're storing. To keep things buzzing smoothly, consider adding extra holes for the later part of the mason bee season. Your bees will thank you!
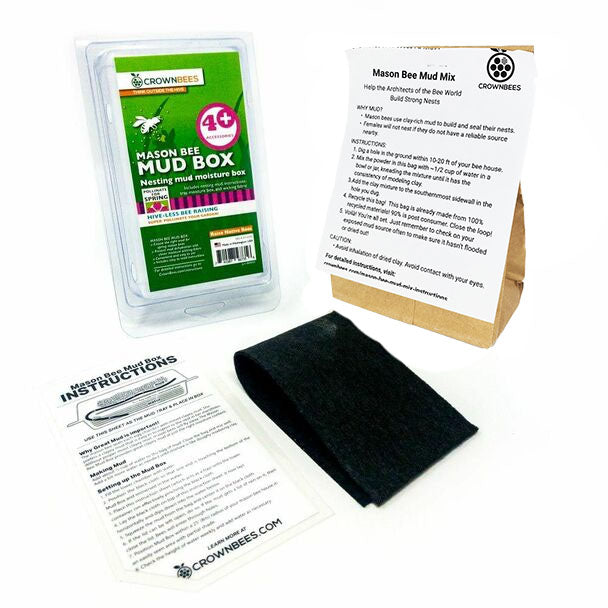
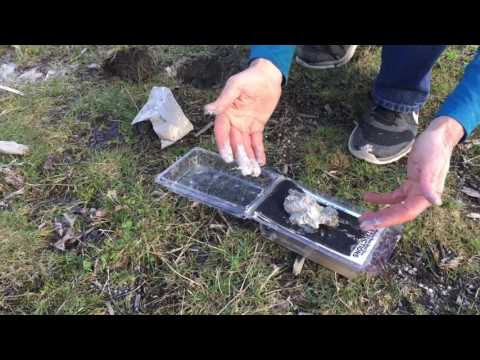
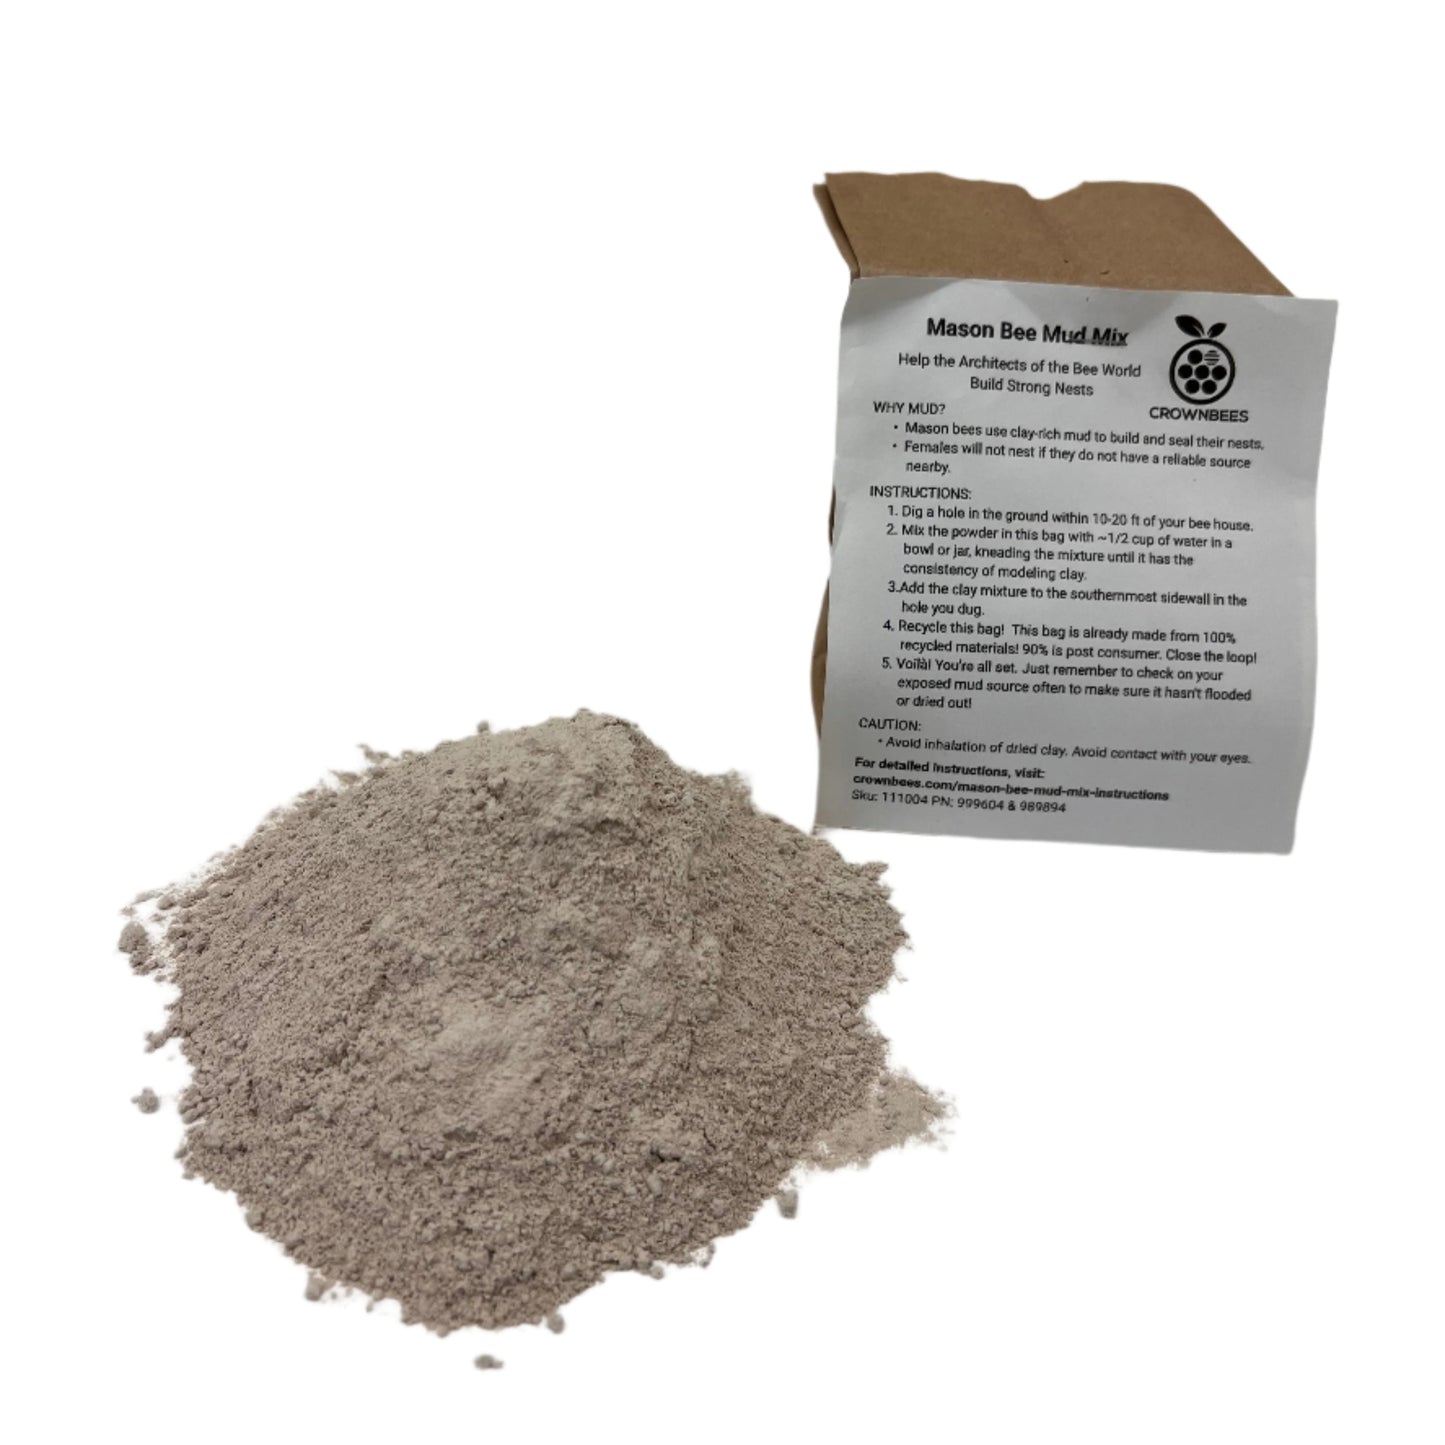
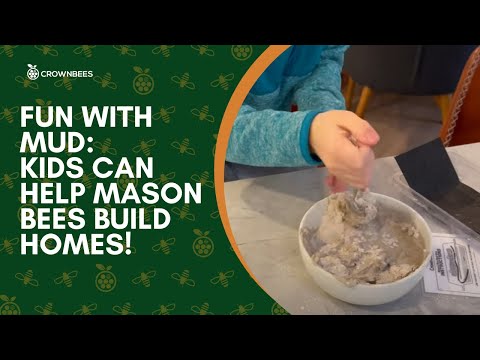
If you're seeing success with your mason bees, it means they've found a source of mud in your yard. To give them an extra boost, try exposing a hole in the ground (8" in diameter and 8" deep) about 10 feet from their bee house. You can place the mud on the hole's southern wall.